Are you finishing your preparations to spend a few days in a beautiful place… the Wicklow Mountains for example? The moment comes to pack something to help capture on camera these superb landscapes and you are in doubt… what equipment should you bring? And how can you be sure of an outcome that will make family, friends and colleagues green with envy? Don’t panic, photographing your hikes can be learned! Here are some tips for taking great photos while hiking.
What camera to bring hiking?
Let’s start with the most obvious. The camera. Should you take a smartphone, an expert bridge/compact, a reflex? The answer to all these questions obviously depends on the use you have in mind for these photos!
1. The Single-Lens Reflex (SLR)
Only take if you know how to use it! The most practical SLR camera remains a transtandard zoom lens (18-200mm) which will allow you to take landscapes at a wide angle but also to zoom in on details.
Advantages of the SLR: the quality of images and the use in difficult conditions, animal photos, photos in raw format, and extensive creative possibilities. The SLR also has very good autonomy.
Negative points: the weight of the camera and the lenses, the bulk, its price – and therefore the fear of damaging it!
2. Hybrids
Hybrids have revolutionized the world of photography and are now a real alternative to SLRs for those who want quality while traveling light.
The main flaw of the hybrid in hiking remains the low autonomy. As the device is very greedy on batteries, it is necessary to recharge it very often. Which may not always be possible when traveling.
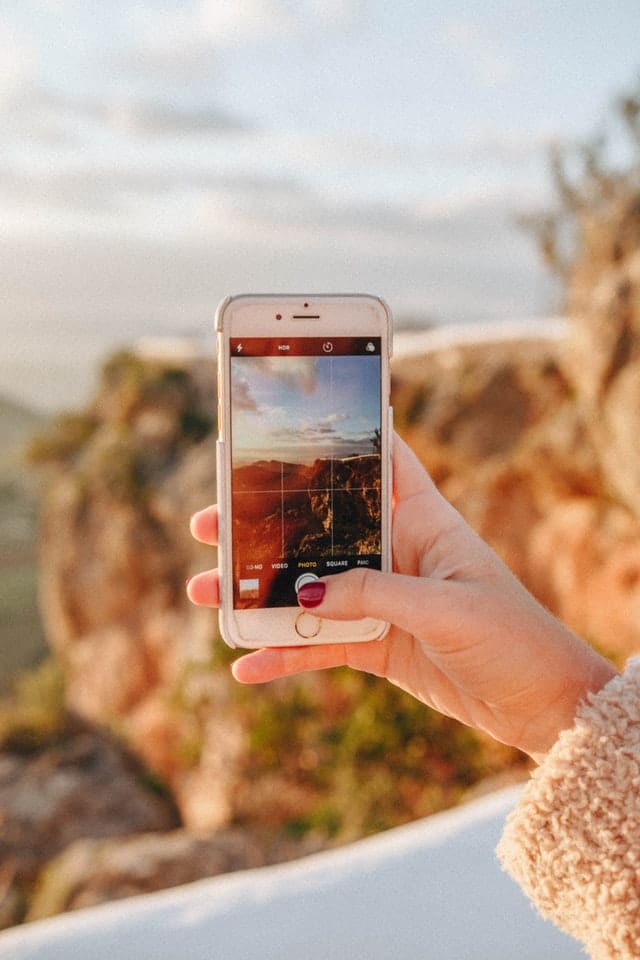
3. Smartphones
The quality of smartphone cameras is improving every year. For souvenir photos, a simple smartphone is more than enough! Whether it is to immortalize a landscape, flowers or moments of hiking, the smartphone is the ideal tool.
Advantages of the smartphone: light, simple, fast, space-saving, produces photos satisfying the needs of the majority of hikers, fast post-processing, fast sharing with loved ones.
Cons: the battery life of the phone .
4. The Compacts
Ideal for hikes of more than 3 days. It’s a bit like a smartphone but with a bigger battery. A lightweight expert compact can take better photos than a smartphone (if you know how to use it, that goes without saying!), And has good battery life .
Keep in mind the weight of the material, and make compromises! Remember, it’s not about taking EVERYTHING, and hiking gear always takes priority over photography gear when packing.
Tips for taking great hiking photos
1. Light
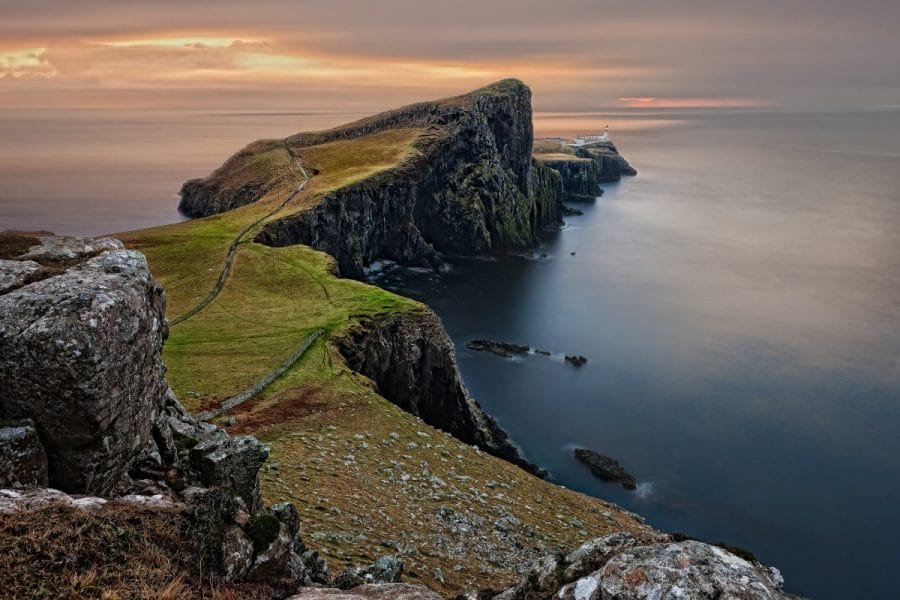
Take your photos during the “golden hour”. It is the hour after sunrise or the hour before sunset. The colors are then more beautiful, the light softer and the exposure is better.
During the day, always take your photos with the sun behind your back – otherwise you will end up with unrecoverable parts of light on which no detail can be seen.
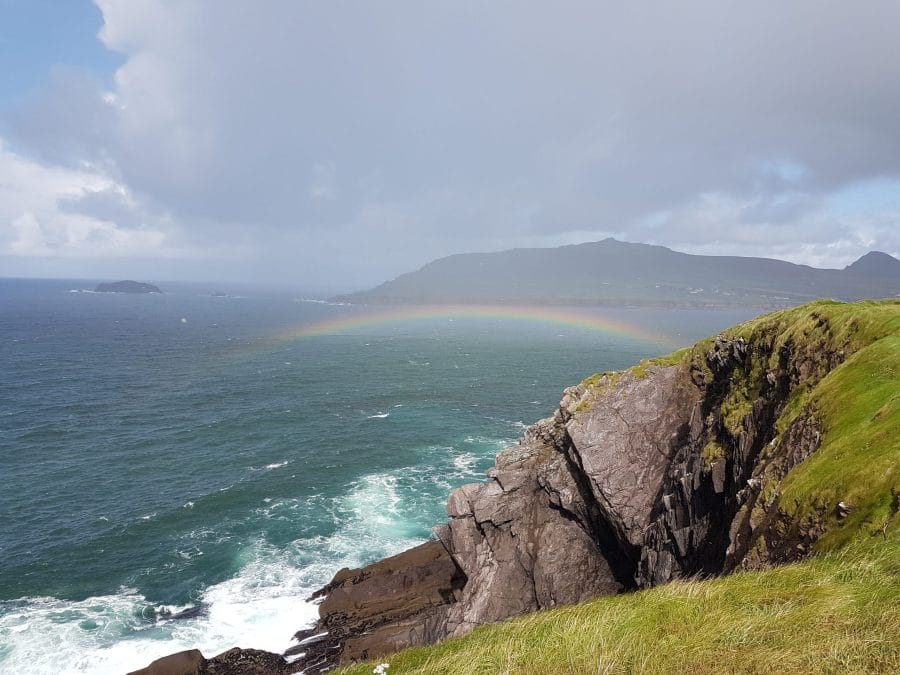
Good weather is also not always ideal for the photo! Too hard light flattens the subject, reinforces shadows and bright areas. On the other hand, busy and stormy skies make great photos, because they are more dramatic than blue skies. So if it’s raining on the trail, don’t put your device away too quickly. Take it out just after the storm to photograph beautiful sunny spells!
2. The planes
If you can show the depth, the photo will be even more interesting. For this, the different planes must be present in the photo: foreground (rock, vegetation, subject), medium plan (lake, valley, river) and background (mountains, etc.).
3. Rule of thirds
This is about imagining the photo divided into 9 parts (2 horizontal lines / 2 vertical lines) – some cameras or phones allow you to see these lines through the viewfinder. Position the important elements of the scene along these lines or at their intersection.
Assign more or less importance to a part of the photo by devoting one or two thirds to it, according to the interest.
4. Heights
Shoot at different heights (not just your eye height) – to give your photos a different perspective. If taking a photo of wildlife, try to get down to their height.
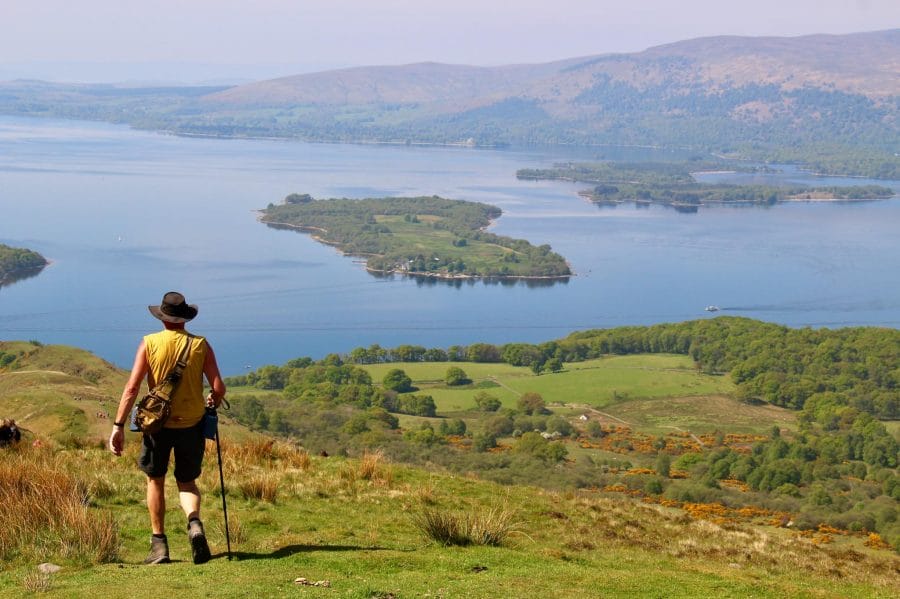
5. People
Incorporating people into your photos is often a good way to energize them, but also to give landscapes a scale. To be effective, it must be placed far enough so that the person is small enough that the scene exudes an aspect of scale, while taking care to ensure that the subject is easily noticeable.
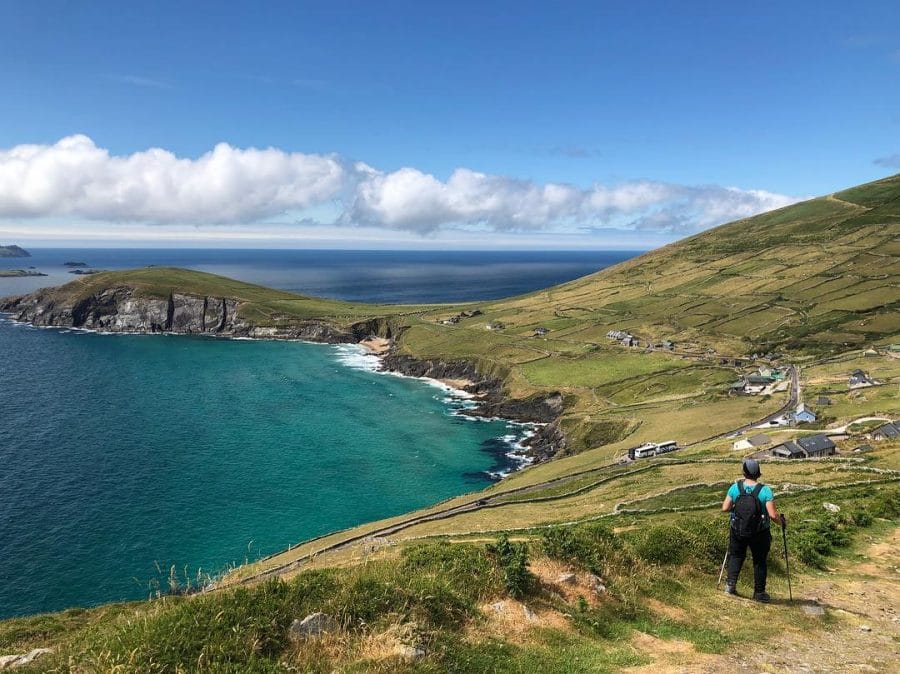
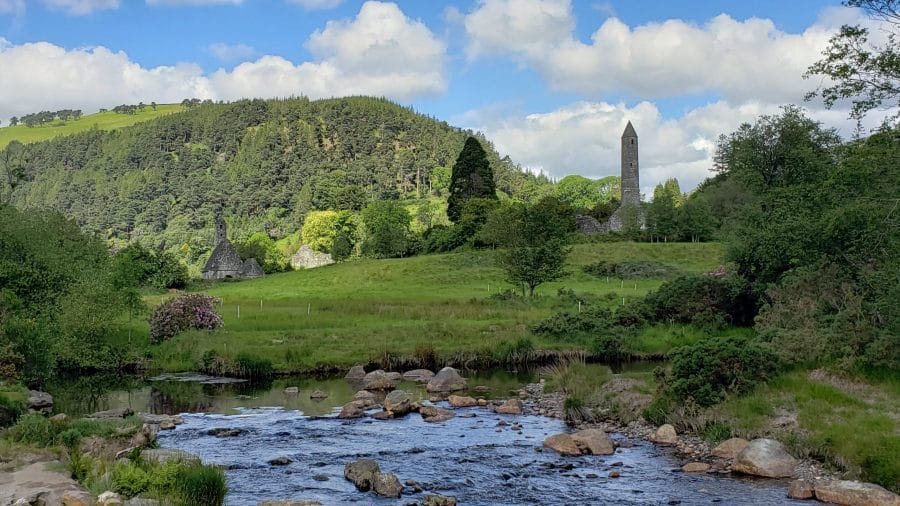
Make original portraits and especially in unique situations. A smiling fisherman bringing a trout back to the shore of a lake in Connemara or a tourist observing the mountain peaks of the Macgillycuddy Reeks for the first time. So many examples of stories to tell with your camera!
6. Landscapes
For landscape photos, the “landscape” (horizontal) format is the most suitable (as its name suggests!), However, the “portrait” (vertical) format should not be neglected for mountain photos, because it adds a sense of grandeur by playing with the verticality between foreground and background.
In fact, each format gives off a different meaning, it’s up to you to decide what meaning to give to your image!
7. Weather
What could be more relevant to show nature than to seek to photograph the meteorological elements? Thunderstorms, sea of clouds or lightning are all subjects that fascinate many landscape photographers. And for good reason, these are phenomena that bring strength to an image.
Sorting it out when you return from a hike
On a hike we go slowly. Often, we do not always realize that we have taken similar photos for a few kilometers leading to many barely indistinguishable photos to sort out when we get home!
But don’t stop yourself taking pictures every 20 meters! At the time, you probably won’t be able to truly judge the quality of a photo or its composition.
Try to find variations: look for foregrounds, a different light, a detail that you didn’t have in the previous photo. The goal is to take as many good photos as possible and then choose the best once back home!
